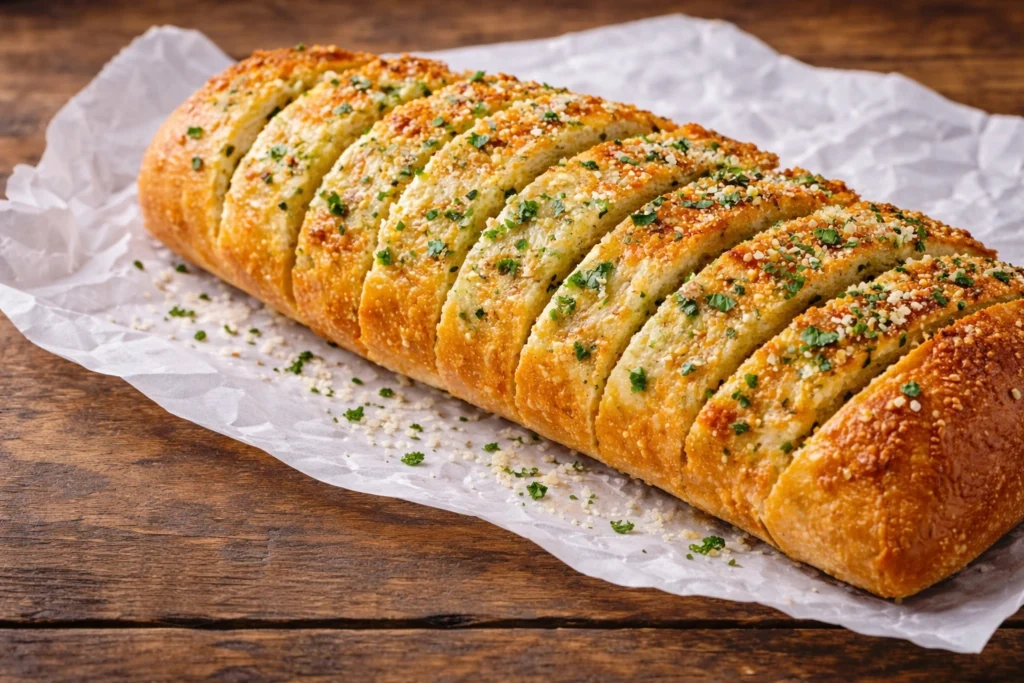

Garlic bread, a humble yet irresistible side dish, has the power to elevate any meal with its crispy exterior and pillowy soft interior. This best garlic bread recipe will guide you through the process of creating homemade garlic bread packed with buttery, garlicky flavor. If you’re searching for an easy garlic bread recipe, this delicious classic will have your taste buds dancing with joy. Let’s embark on a culinary adventure that celebrates the magic of garlic, butter, and bread coming together in perfect harmony.
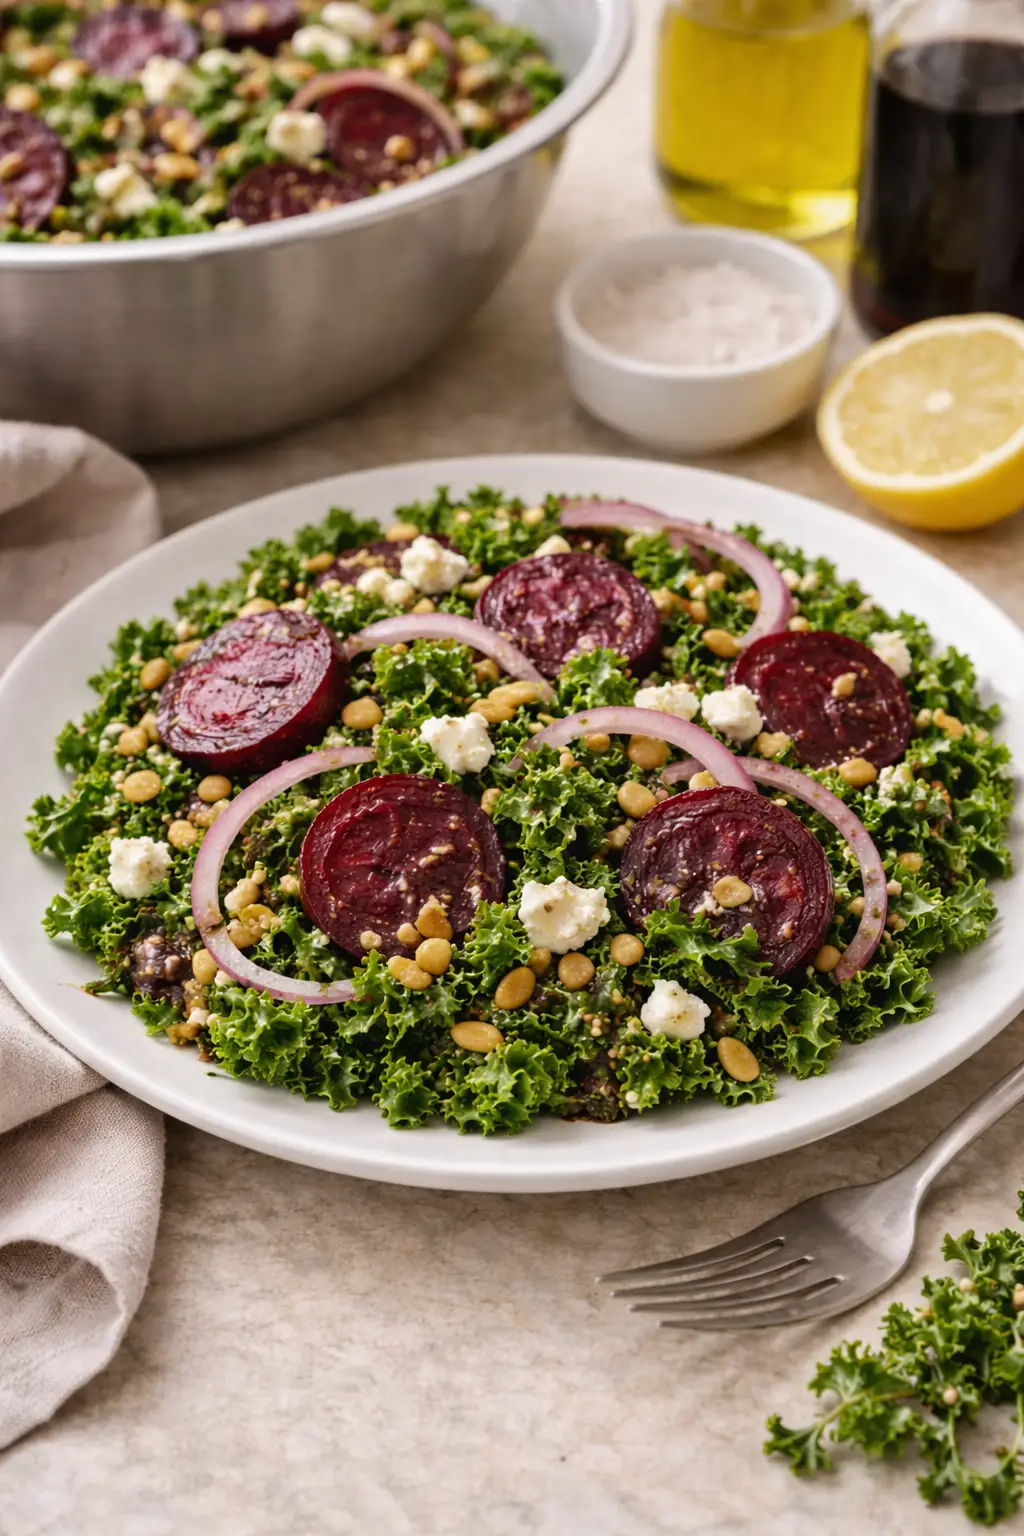
This garlic bread pairs perfectly with classic Margherita pizza with fresh basil for an easy Italian-inspired dinner everyone will love.
The Tale of Garlic Bread
Garlic bread holds a special place in many hearts, evoking memories of cozy family dinners, bustling Italian trattorias, or late-night snacks shared with friends. Its origins can be traced back to Italy, where simple ingredients like olive oil, garlic, and bread were combined to create a delicious treat. Over time, garlic bread has transcended borders and cuisines, finding its way onto tables around the world. Whether served alongside pasta, soup, or enjoyed on its own, garlic bread is a beloved classic that never fails to delight.
If you enjoy comforting meals packed with flavor, this easy coconut curry noodles recipe is another cozy dish that tastes amazing with homemade garlic bread.
Unveiling the Secret Ingredients
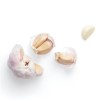
The key to crafting the best garlic bread recipe lies in the quality of the ingredients used. Start with a fresh loaf of crusty Italian bread, known for its chewy texture and sturdy crust that crisps up beautifully in the oven. Selecting the finest butter is crucial, as it forms the rich, creamy base that carries the aromatic garlic flavor. Fresh garlic, minced to perfection, adds a pungent kick that mellows out beautifully when baked. A generous sprinkle of parsley not only adds a pop of color but also a subtle herbaceous note that enhances the overall flavor profile.


The Magic of Flavors and Textures
The beauty of this garlic bread recipe lies in its contrast of textures and flavors. The exterior, brushed with garlic butter and toasted to golden perfection, offers a satisfying crunch that gives way to a soft, buttery center infused with the essence of garlic. This buttery garlic bread delivers a symphony of savory, aromatic, and slightly sweet notes that dance on your palate, leaving you craving more.
Cooking Techniques for Perfection
To achieve the ideal garlic bread consistency, it’s essential to master the art of balancing crispiness and softness. Preparing the garlic butter mixture with just the right amount of garlic ensures a harmonious blend of flavors without overpowering the bread. Slicing the bread just right allows for maximum surface area to absorb the buttery goodness, resulting in a decadent treat that’s indulgent yet comforting. Baking this oven baked garlic bread at the perfect temperature and duration is key to achieving that coveted crispy garlic bread texture with a golden exterior and soft inside that will have everyone reaching for seconds.
Frequently Asked Question: How to Store Leftover Garlic Bread?
If, by some miracle, you have leftover garlic bread (which is a rare occurrence in most households), store it in an airtight container at room temperature for up to 2 days. To reheat, simply pop it in the oven for a few minutes until warmed through and crisp again. Avoid microwaving, as it can make the bread soggy.
Final Thoughts on Homemade Garlic Bread
Now that you’ve unlocked the secrets to creating the best garlic bread recipe, it’s time to roll up your sleeves, preheat the oven, and dive into the world of aromatic bliss that awaits. Whether you’re serving it alongside a hearty pasta dish or savoring it on its own, this homemade garlic bread is sure to become a staple in your culinary repertoire. So, gather your ingredients, infuse your kitchen with the scent of garlic and butter, and let the magic of garlic bread transport you to a place of pure gastronomic delight. Bon appétit!
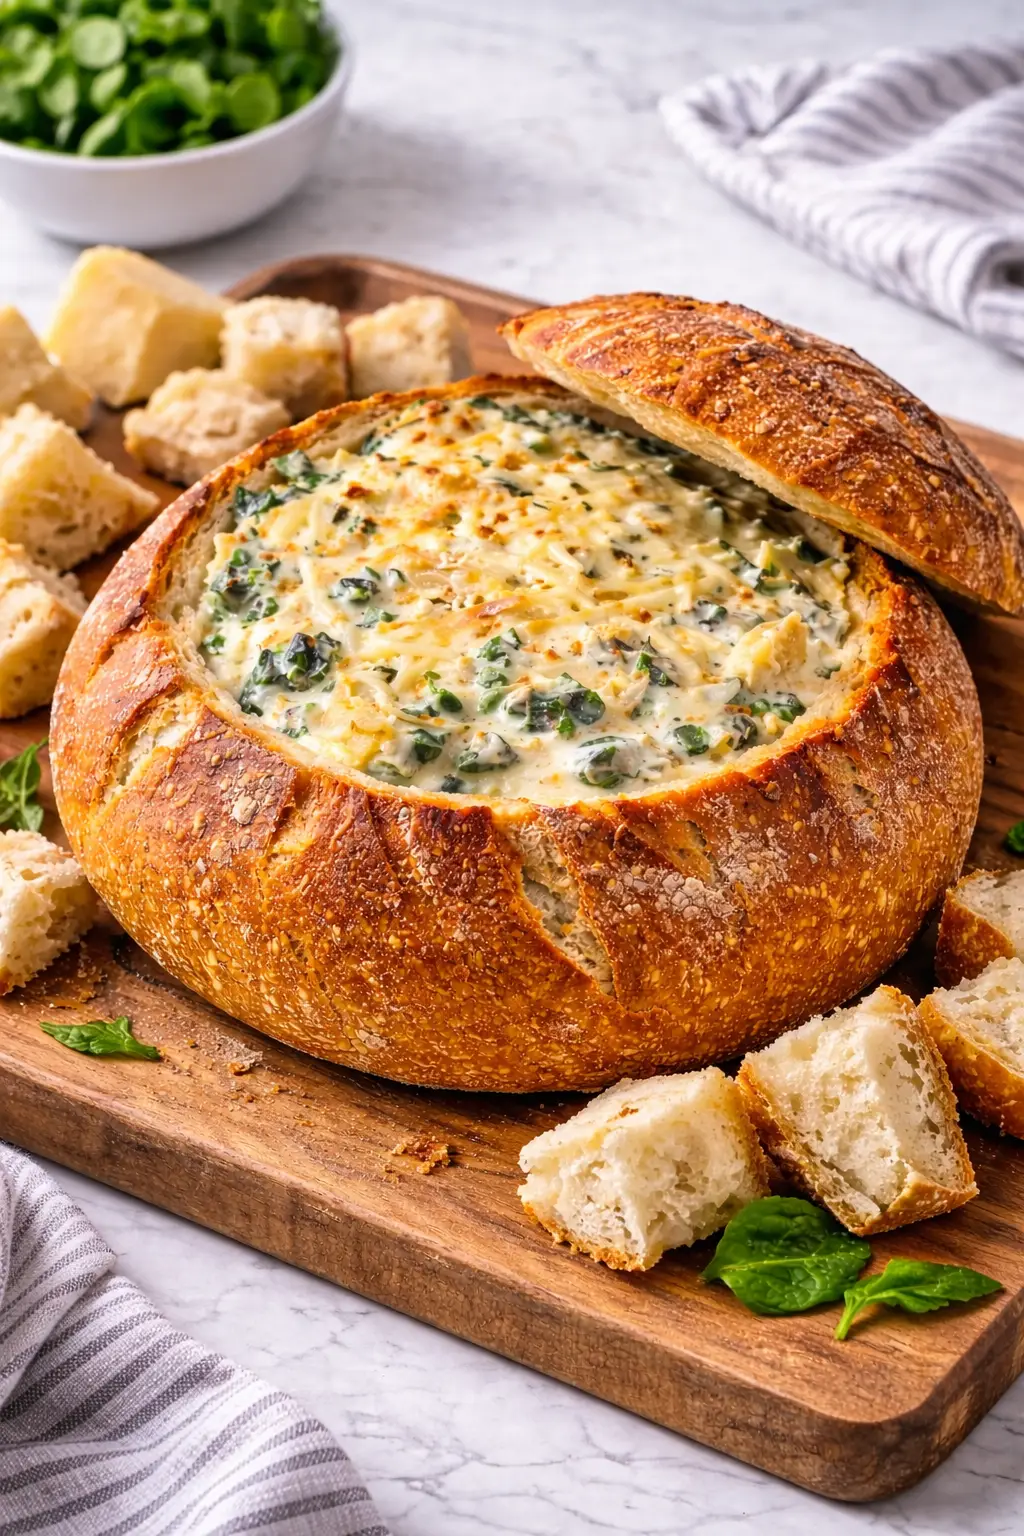
The Best Garlic Bread Recipe (Crispy Outside, Soft Inside!)
Description
Indulge in the ultimate garlic bread experience with this recipe that combines crispy textures outside and a pillowy-soft inside.
Ingredients
Garlic Bread Ingredients

Instructions
Preparation
-
Preheat the Oven
Preheat your oven to 375°F (190°C) and line a baking sheet with parchment paper.Ensuring the oven is properly preheated helps achieve the perfect texture. -
Prepare the Garlic Butter
In a small bowl, mix softened butter, minced garlic, chopped parsley, salt, and pepper until well combined.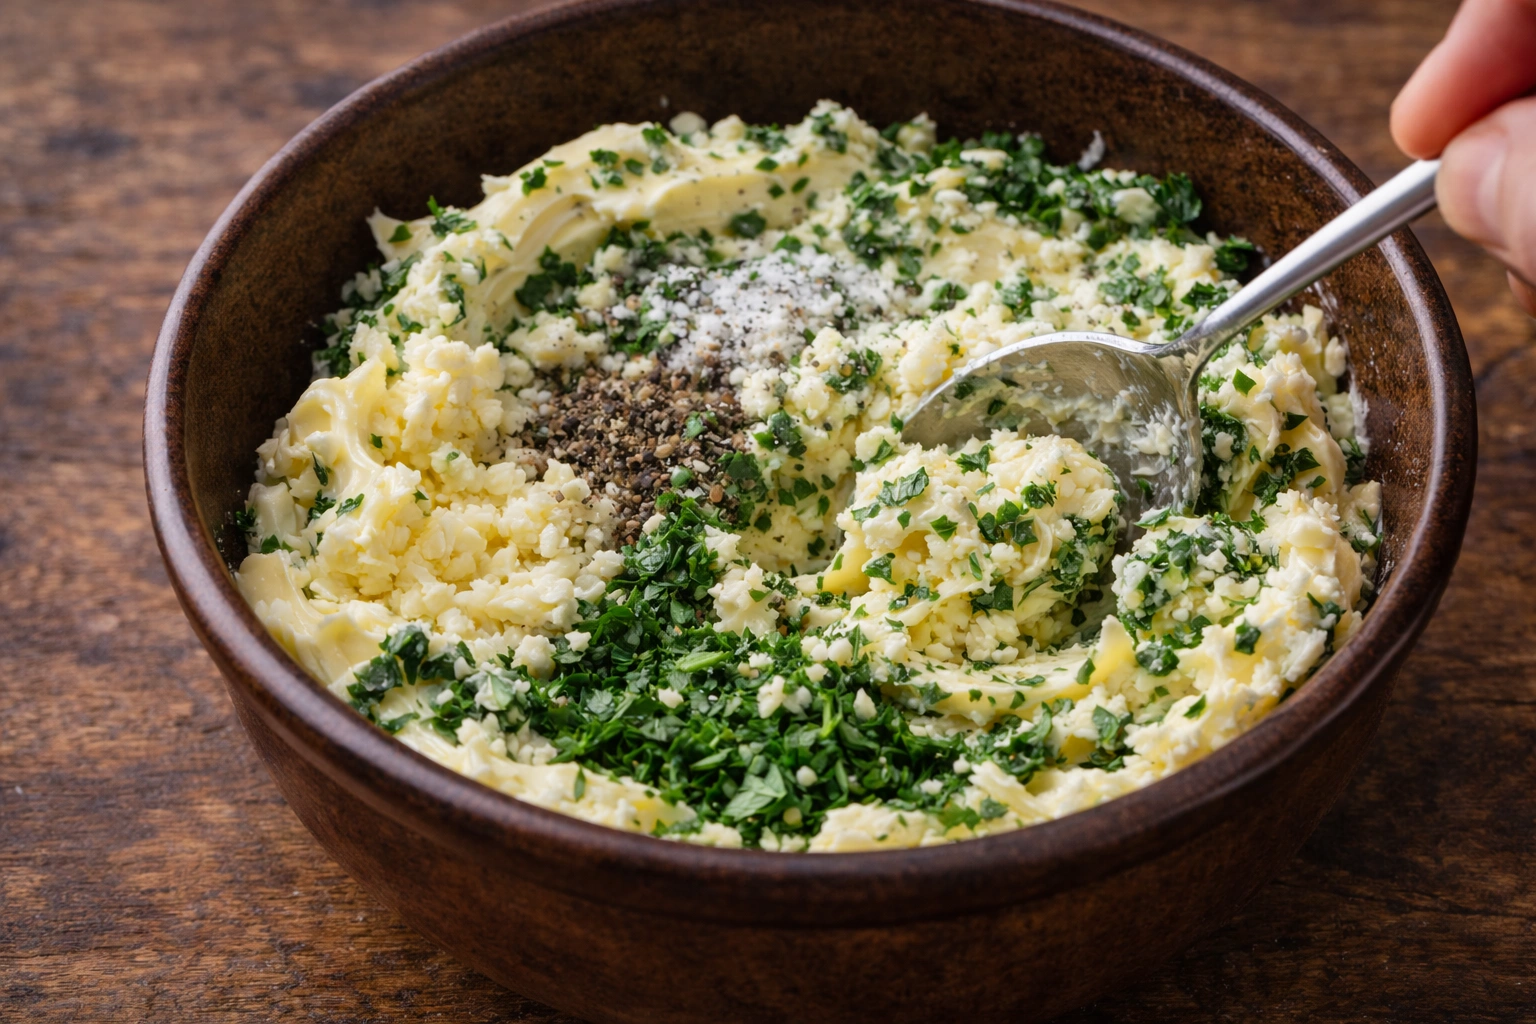 Adjust the amount of garlic to suit your taste preferences.
Assembling the Garlic Bread
-
Slice the Bread
Using a serrated knife, make diagonal cuts into the bread, being careful not to cut all the way through.This cutting technique allows the garlic butter to penetrate the bread for maximum flavor. -
Spread the Garlic Butter
Generously spread the garlic butter mixture between the slices and over the top of the bread.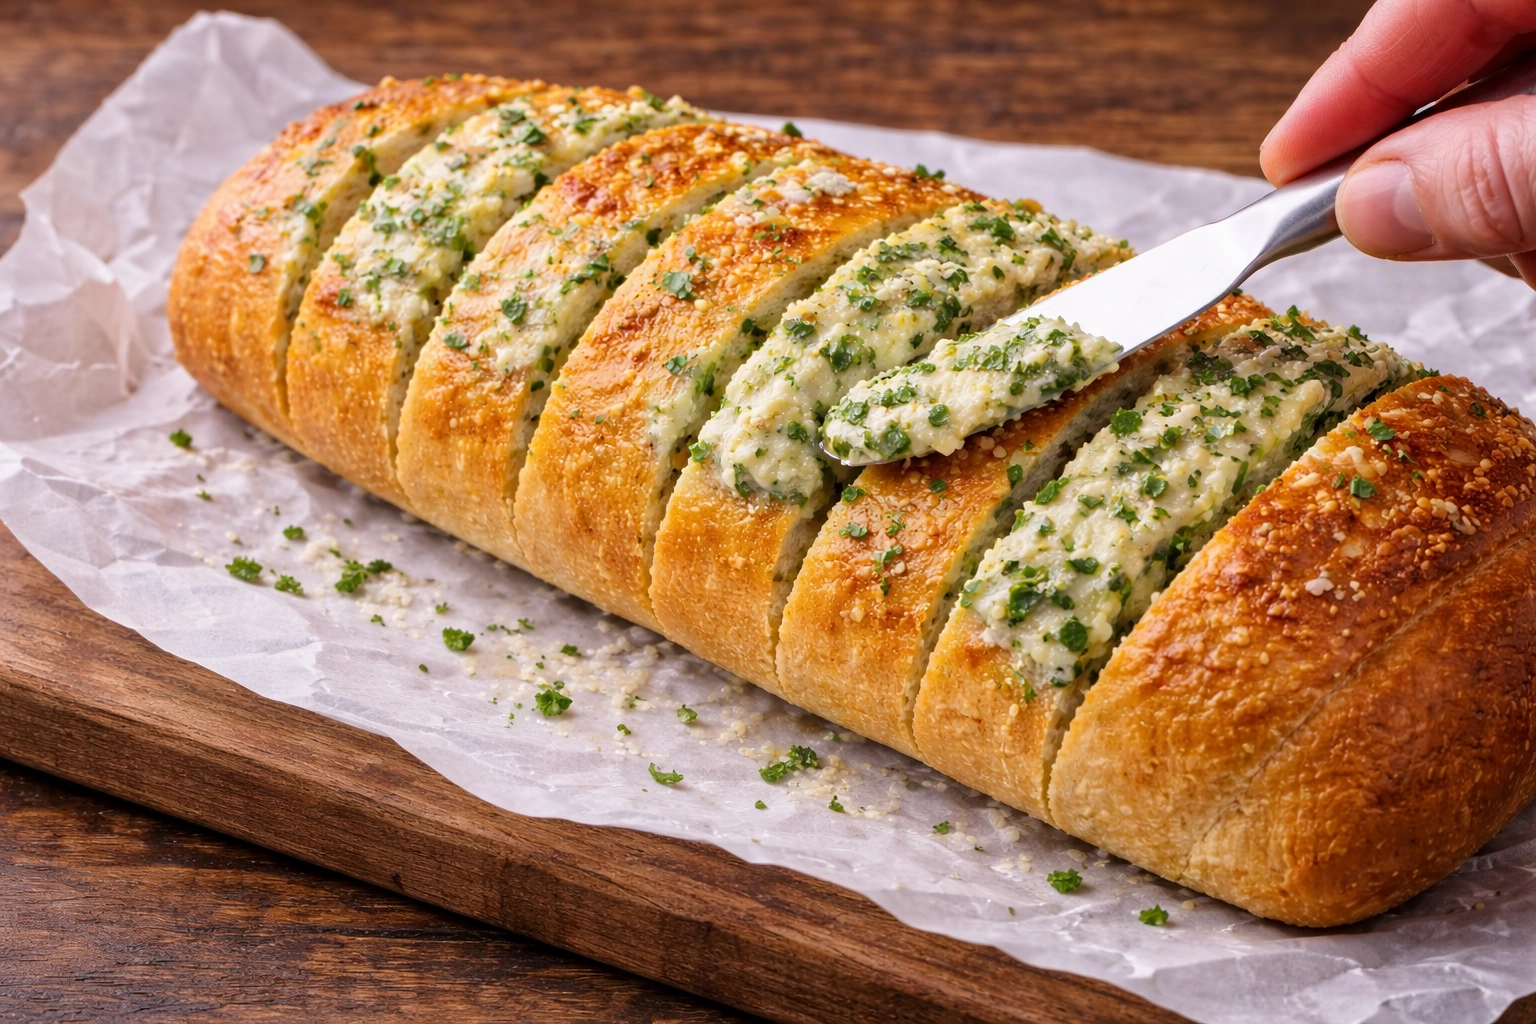 Don't skimp on the garlic butter—it's what makes this garlic bread irresistible!
Baking the Garlic Bread
-
Wrap and Bake
Wrap the garlic bread in foil, leaving the top slightly open to allow the bread to crisp up. Bake in the preheated oven for 15-20 minutes.The foil helps the bread retain moisture while baking, resulting in a soft interior. -
Unwrap and Crisp
Unwrap the top of the garlic bread and bake for an additional 5-10 minutes until the top is golden and crispy.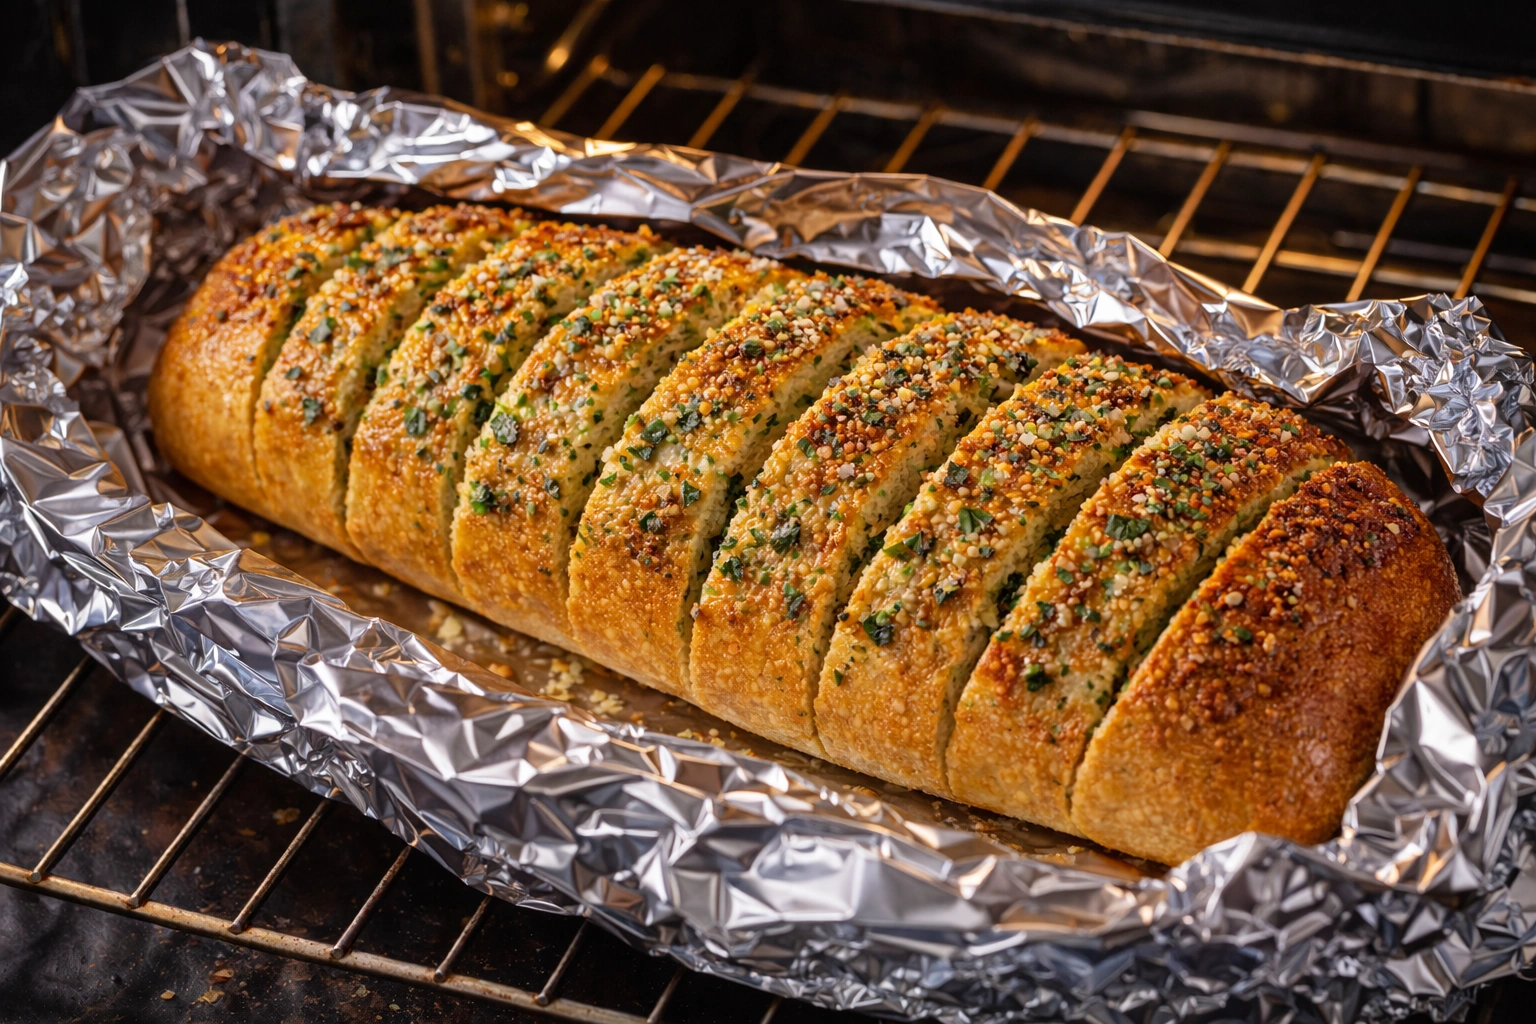 This final step gives the garlic bread its irresistible crunch.
Serve and Enjoy
-
Slice and Serve
Slice the garlic bread and serve hot, allowing the aroma of garlic and butter to entice your senses.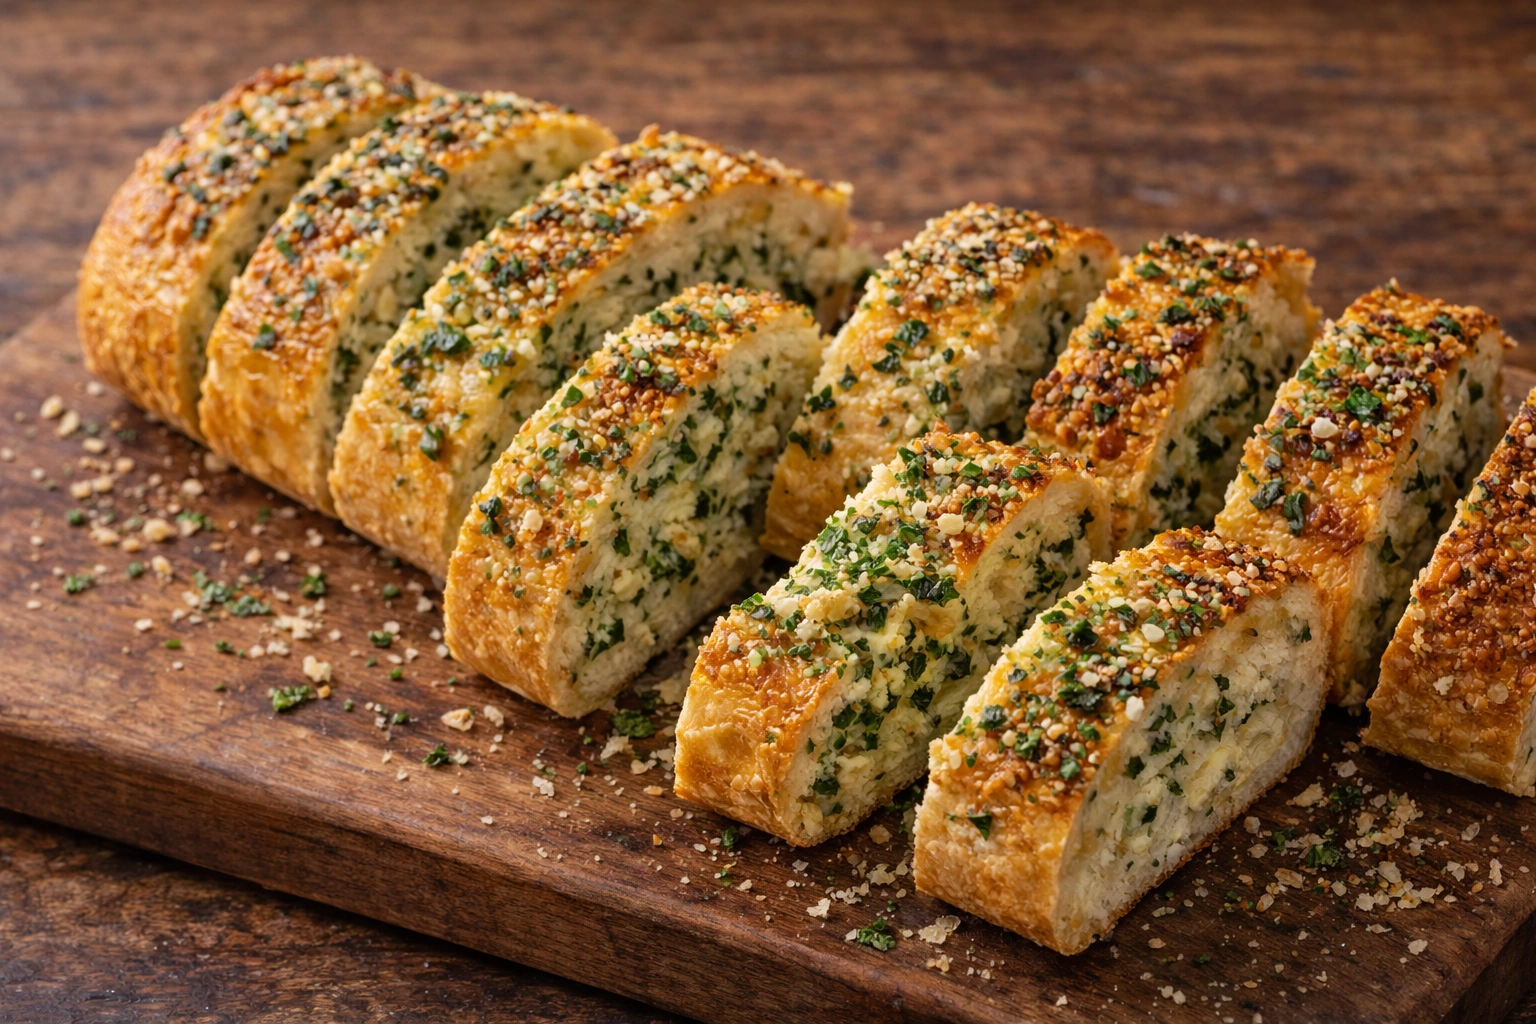 Pair with your favorite pasta dishes or enjoy as a standalone indulgence.

Nutrition Facts
Servings 6
- Amount Per Serving
- Calories 220kcal
- % Daily Value *
- Total Fat 14g22%
- Saturated Fat 8g40%
- Cholesterol 35mg12%
- Total Carbohydrate 20g7%
- Dietary Fiber 1g4%
- Sugars 2g
- Protein 4g8%
- Calcium 80 mg
- Iron 1.2 mg
* Percent Daily Values are based on a 2,000 calorie diet. Your daily value may be higher or lower depending on your calorie needs.
Note
- Use day-old bread for better absorption of the garlic butter mixture.
- Adjust garlic amount to personal preference for a stronger or milder flavor.
- For a flavor boost, add a sprinkle of grated Parmesan cheese before baking.
- To make it extra crispy, broil for the last 1-2 minutes.
- Experiment with different herbs like parsley or basil for a fresh twist.
- Serve with marinara sauce for dipping or alongside a bowl of soup for a comforting meal.
- Leftovers can be stored in an airtight container at room temperature for up to 2 days or frozen for longer shelf life. Reheat in the oven for a crispy texture.