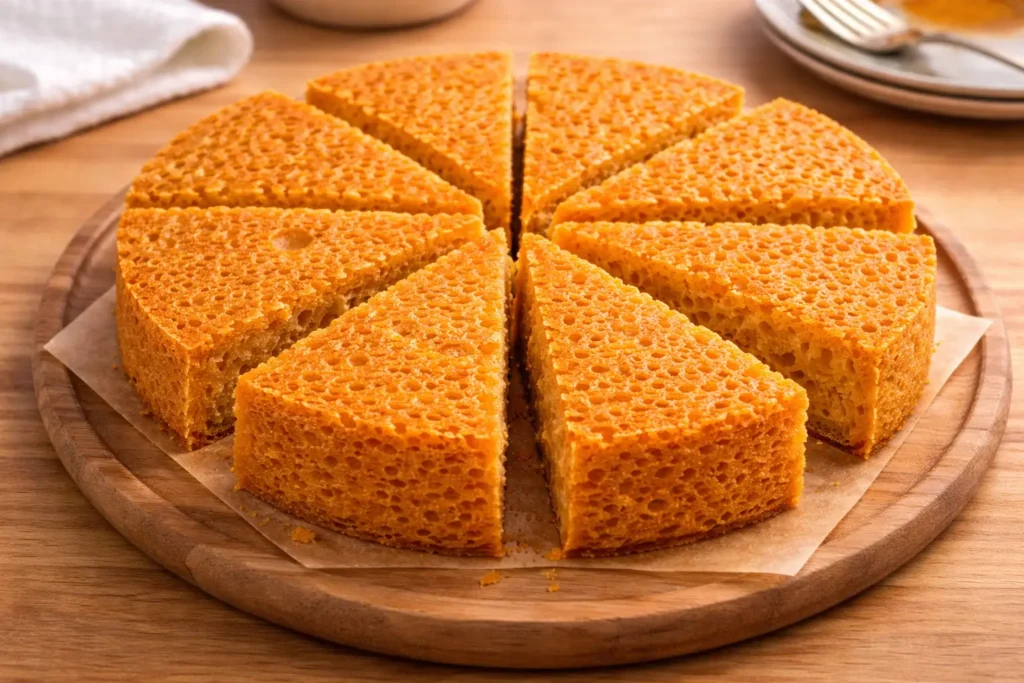

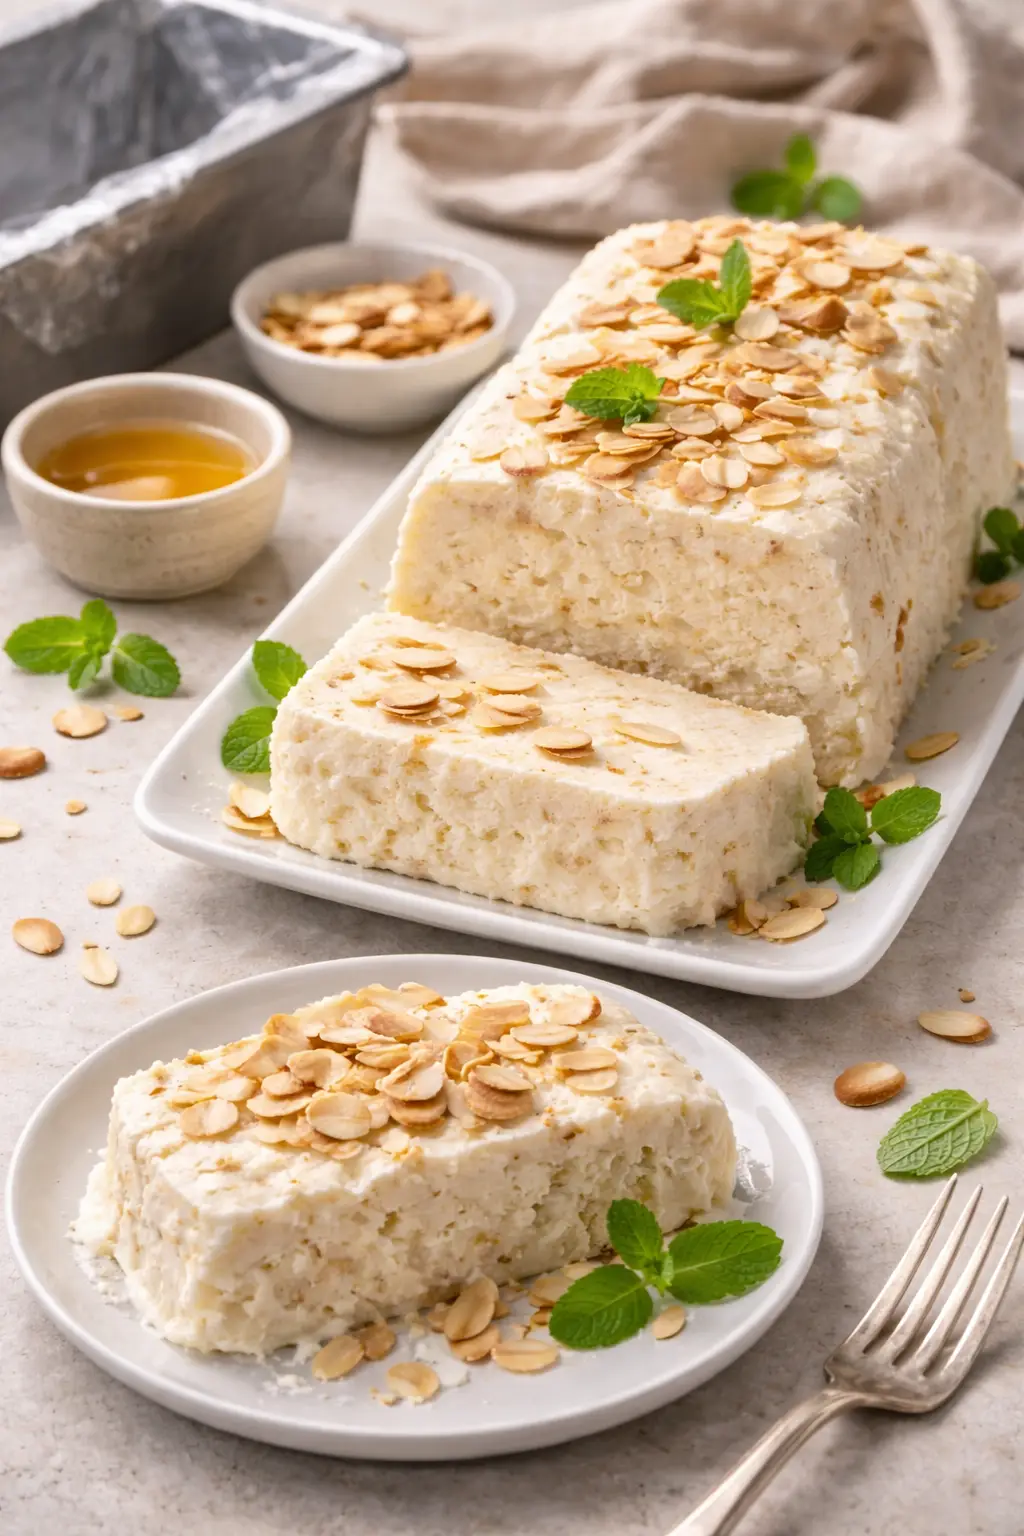
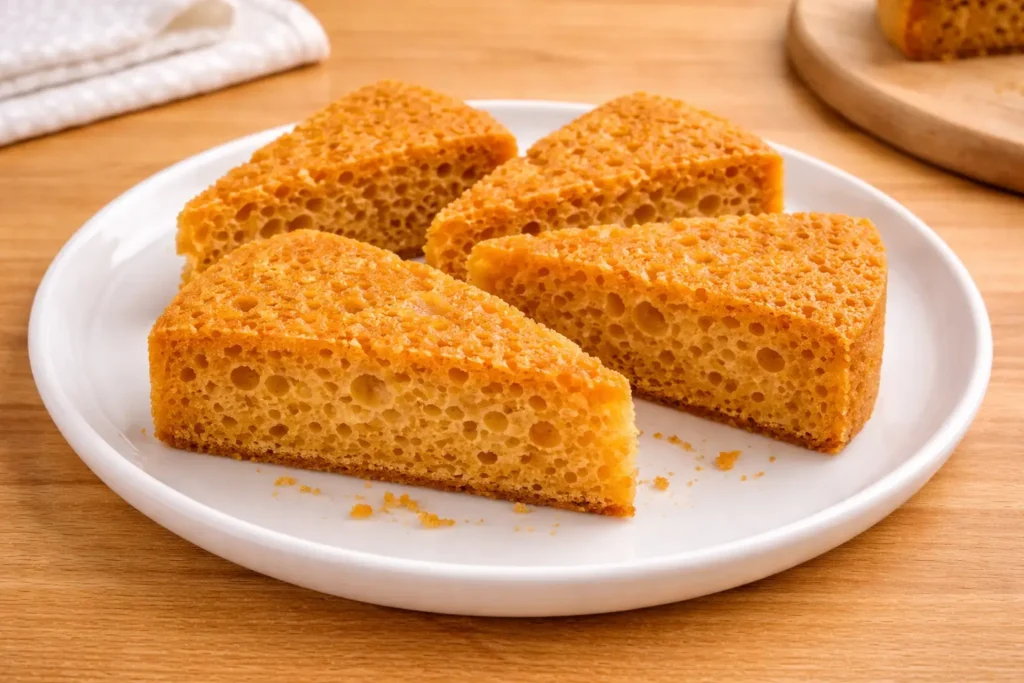
There’s something magical about slicing into a golden, airy Honeycomb Cake and watching those delicate bubbles reveal themselves. Furthermore, the sweet aroma that fills your kitchen while baking this Korean-inspired treat creates an unforgettable sensory experience. Today, I’ll share my foolproof method for creating the most spectacular Honeycomb Cake that will impress everyone at your table!
If you love quick and simple desserts, you might also enjoy this easy chocolate banana smoothie recipe — a creamy 5-minute treat perfect for busy mornings or light cravings.
What Makes Honeycomb Cake So Special?
Honeycomb Cake, also known as “Dalgona Cake” or “Sponge Toffee Cake,” captivates dessert lovers with its unique texture and appearance. Moreover, this extraordinary cake features countless tiny air bubbles throughout, creating a honeycomb-like structure that’s both visually stunning and delightfully light.
Unlike traditional cakes that rely on flour for structure, Honeycomb Cake achieves its signature texture through a fascinating chemical reaction. Additionally, the combination of sugar, honey, and baking soda creates an impressive rise that transforms simple ingredients into something truly spectacular.
The golden color and sweet, caramelized flavor make this cake perfect for special occasions or whenever you want to create something memorable. Furthermore, its Instagram-worthy appearance guarantees impressed guests and plenty of compliments.
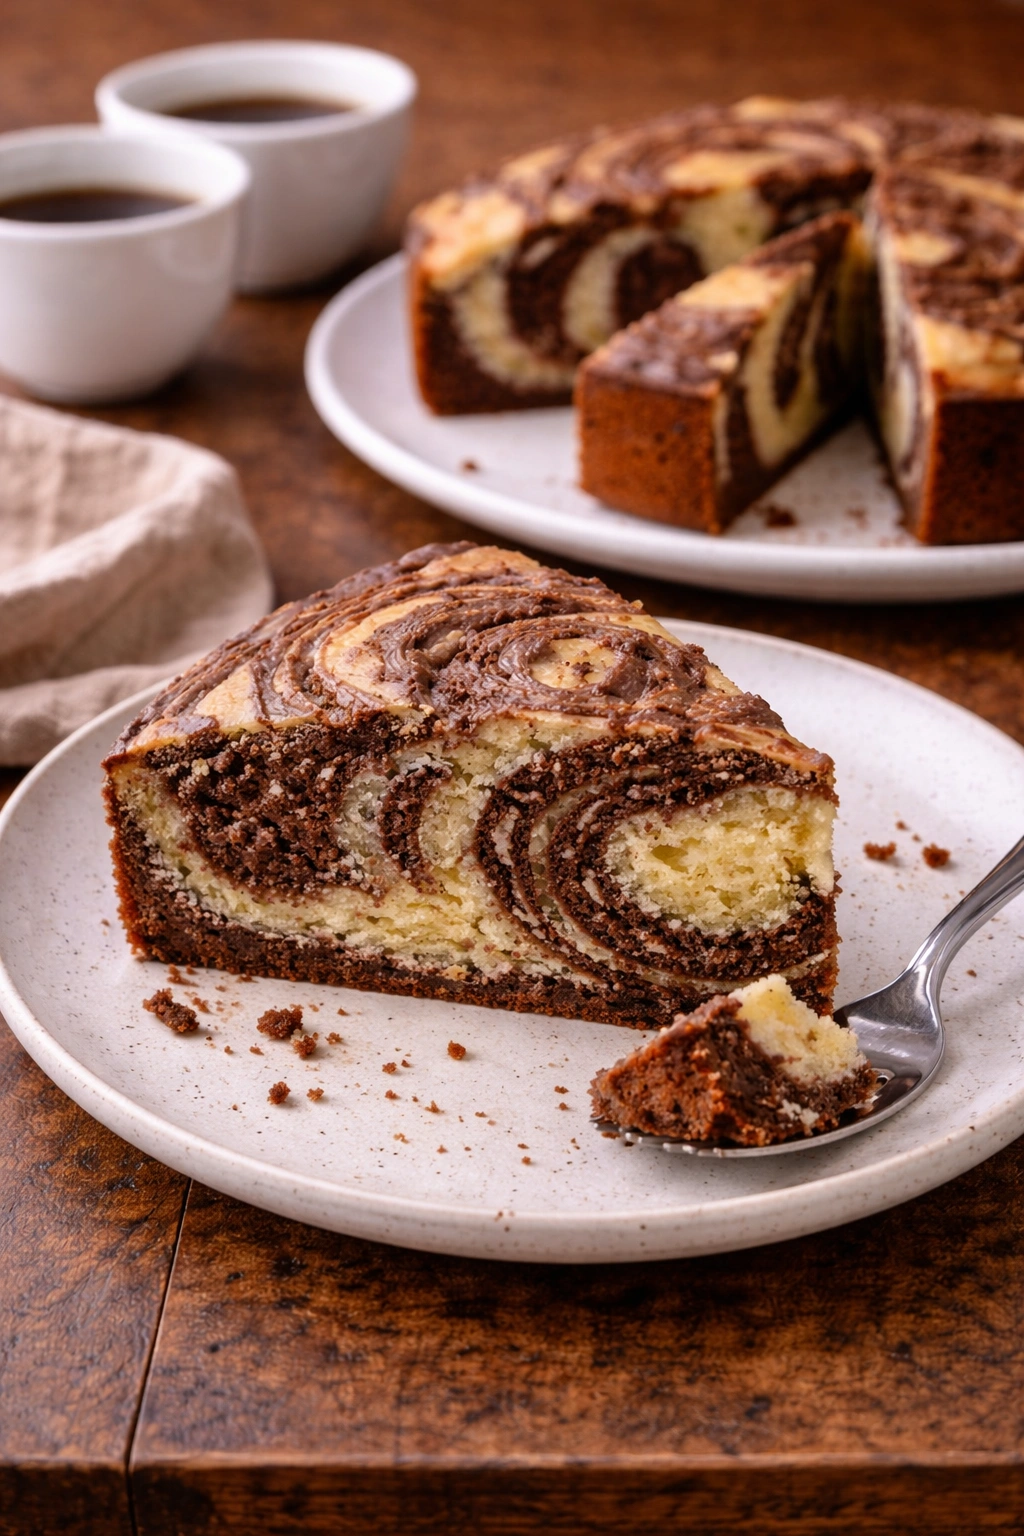
For another bakery-style treat with a soft and moist texture, check out this best marble cake recipe (moist & bakery-style) that delivers rich flavor in every slice.
The Science Behind Perfect Honeycomb Cake
Understanding how Honeycomb Cake works helps you achieve consistent, amazing results every time. First, heating sugar and honey creates a concentrated syrup that reaches specific temperatures. Then, adding baking soda triggers a dramatic foaming reaction.
The hot syrup causes baking soda to release carbon dioxide gas rapidly. Consequently, thousands of tiny bubbles form throughout the mixture, creating that distinctive honeycomb structure. Meanwhile, the high temperature sets the structure quickly, preserving those beautiful air pockets.
This process requires precise timing and temperature control. Therefore, having the right tools and following the steps carefully ensures success with your Honeycomb Cake.
Essential Ingredients for Amazing Honeycomb Cake
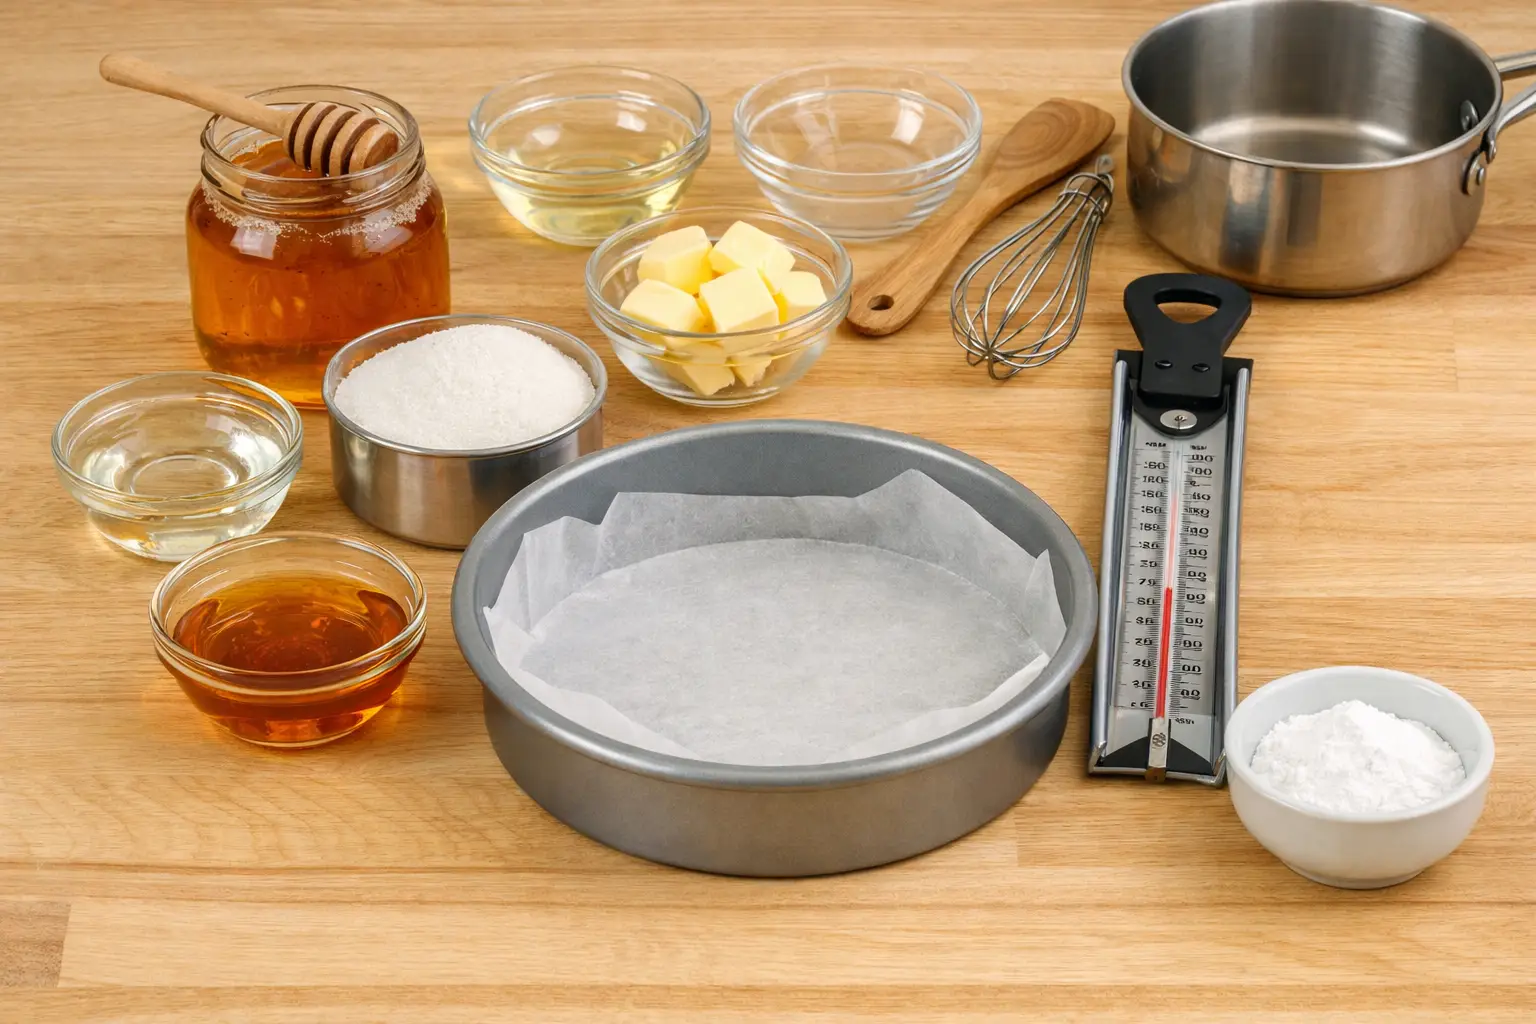
Creating perfect Honeycomb Cake requires these carefully selected ingredients:
Main Components:
- 1 cup granulated sugar
- ¼ cup honey (preferably wildflower or clover)
- 2 tablespoons water
- 1 tablespoon baking soda (fresh and active)
- ½ teaspoon vanilla extract
- Pinch of salt
Optional Additions:
- 2 tablespoons butter for extra richness
- ½ teaspoon almond extract for complex flavor
- Food coloring for creative variations
- Chopped nuts or dried fruits
For Serving:
- Whipped cream
- Fresh berries
- Chocolate sauce
- Caramel drizzle
Step-by-Step Honeycomb Cake Instructions
Preparing Your Workspace
First, gather all ingredients and equipment before starting. Then, line an 8-inch round cake pan with parchment paper, ensuring the paper extends up the sides.
Next, place your candy thermometer in easy reach and measure the baking soda into a small bowl. Additionally, have a whisk ready for quick mixing.
Most importantly, clear your workspace of distractions since timing becomes crucial once you start cooking the sugar mixture.
Creating the Sugar Syrup Base
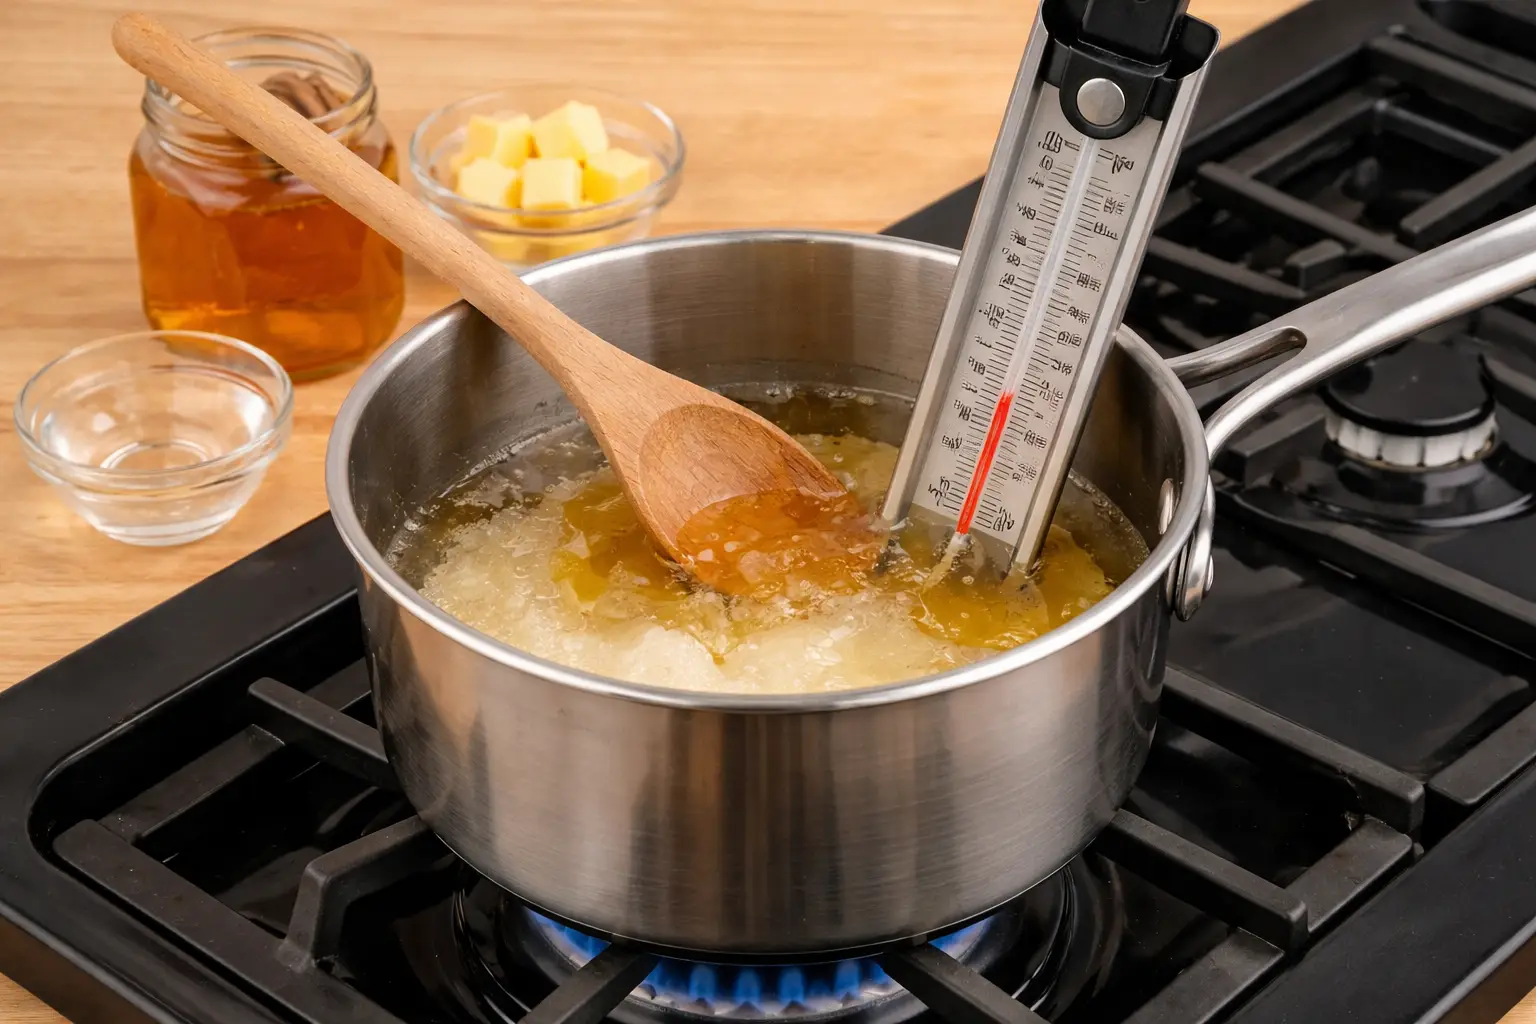
Combine sugar, honey, and water in a heavy-bottomed saucepan. Then, stir gently to mix without creating air bubbles.
Place the pan over medium-high heat without stirring further. Meanwhile, attach your candy thermometer to the side of the pan.
Cook the mixture until it reaches 300°F (150°C), which typically takes 8-10 minutes. Furthermore, watch carefully as the syrup transforms from clear to golden amber.
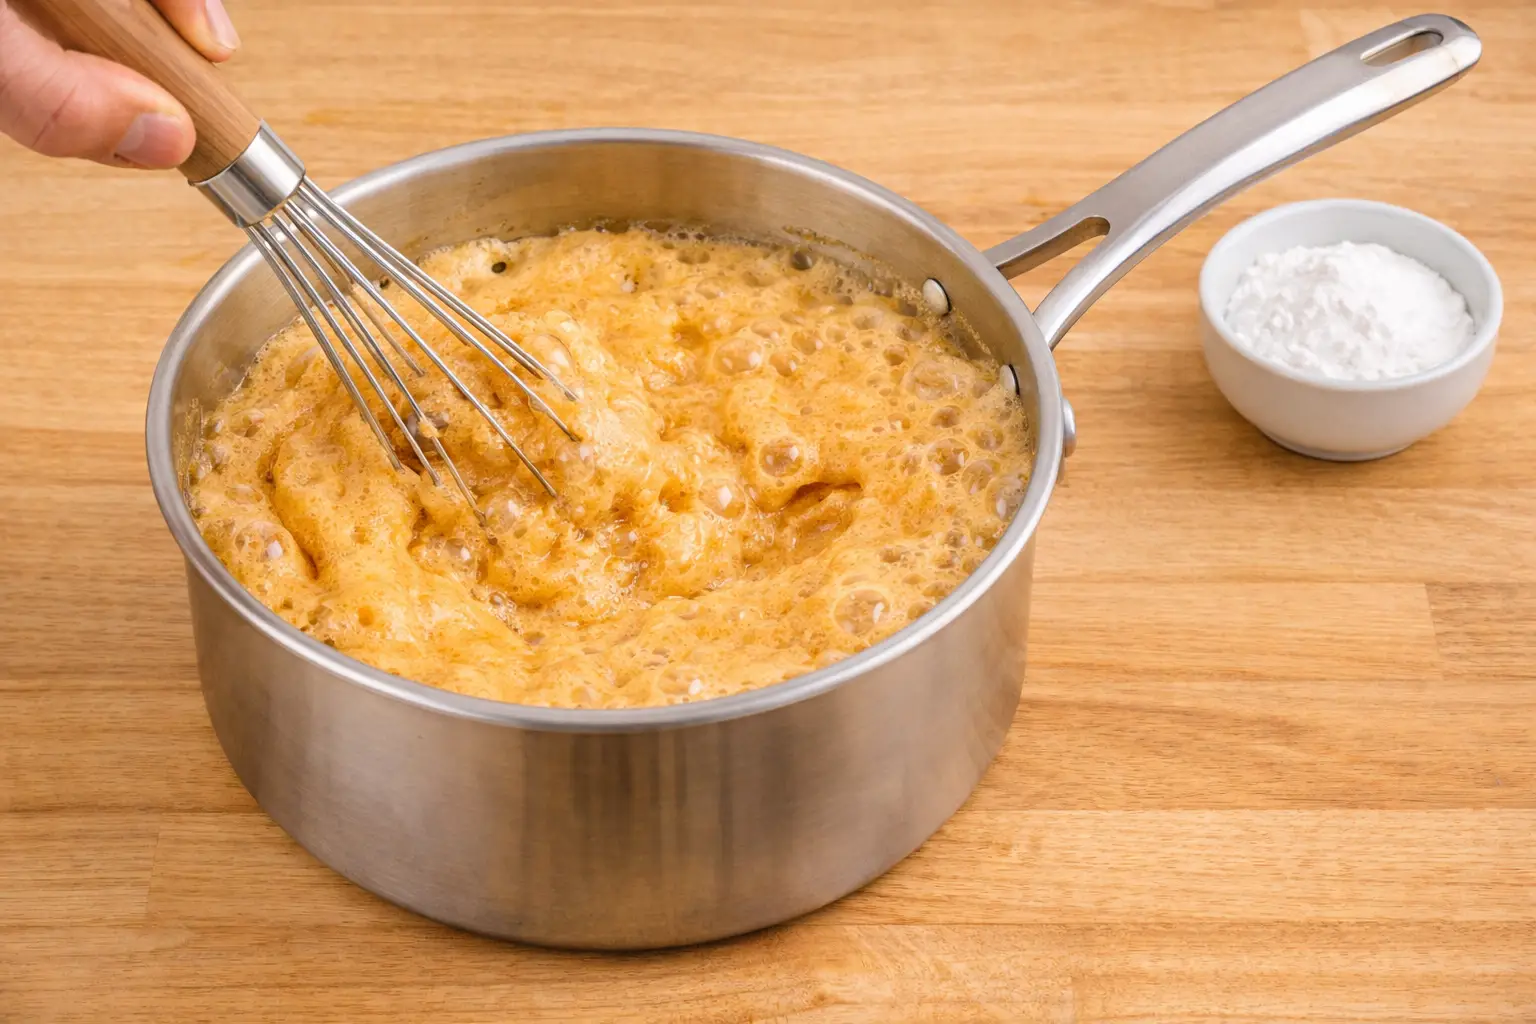
The Magic Moment: Adding Baking Soda
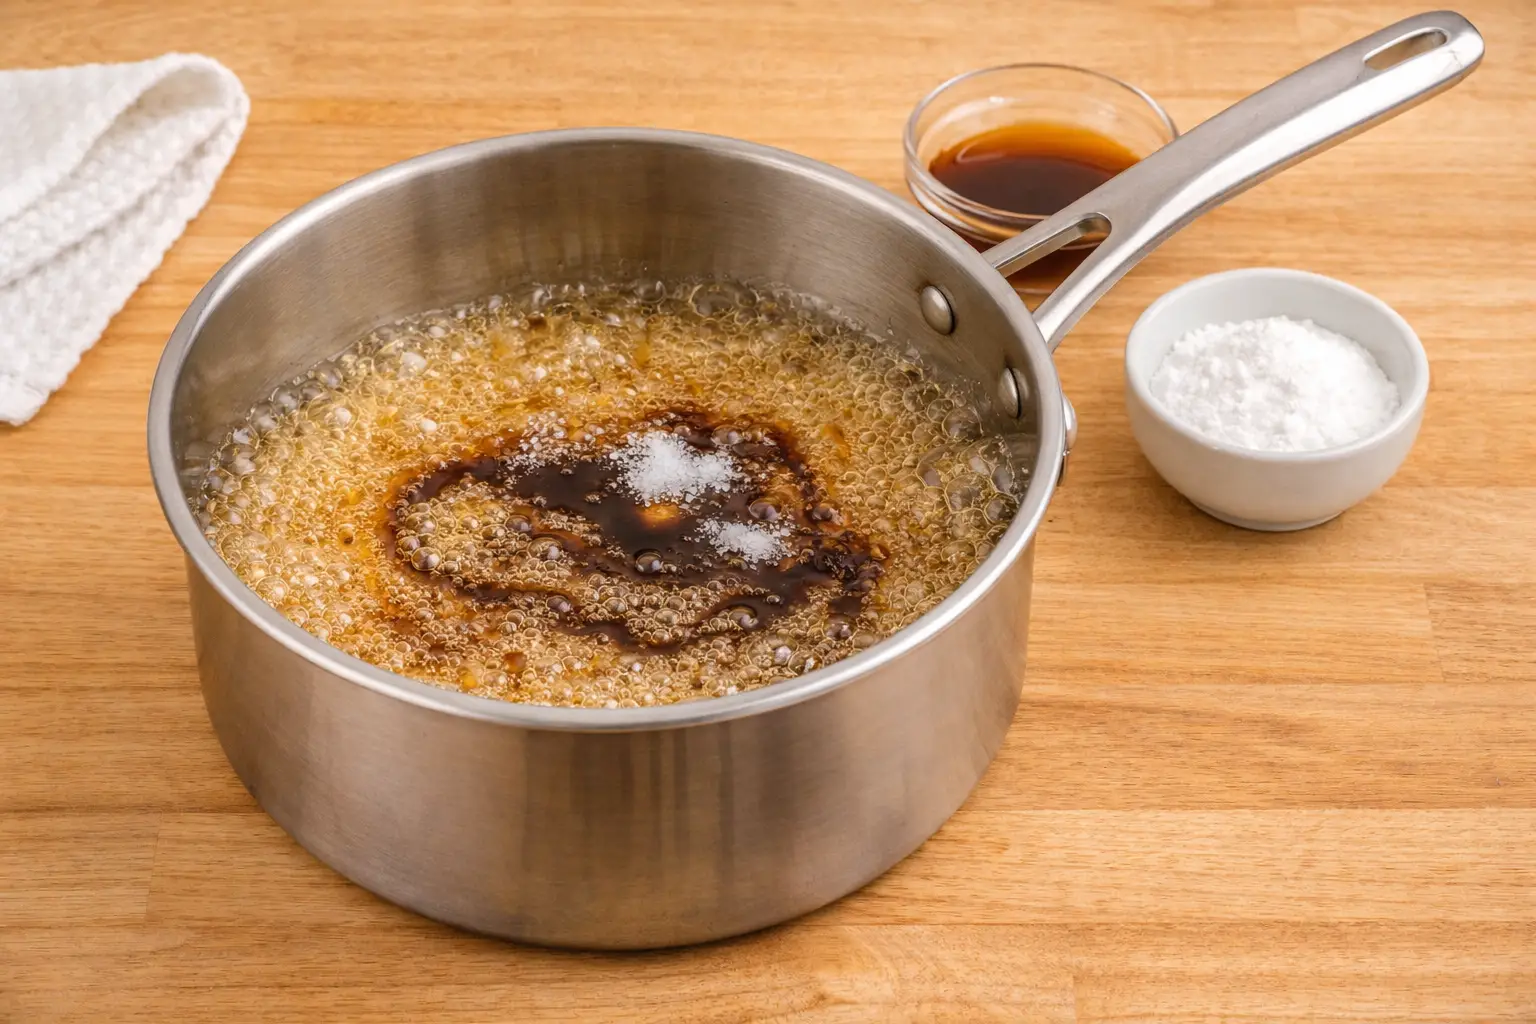
Once the syrup reaches 300°F, immediately remove it from heat. Then, quickly add vanilla extract and salt, swirling the pan gently.
Next, add the baking soda all at once and whisk vigorously for 5-10 seconds. Subsequently, the mixture will foam dramatically and increase in volume by three to four times.
Work quickly but carefully, as the mixture remains extremely hot. After that, immediately pour the foaming mixture into your prepared pan.
Baking Your Honeycomb Cake
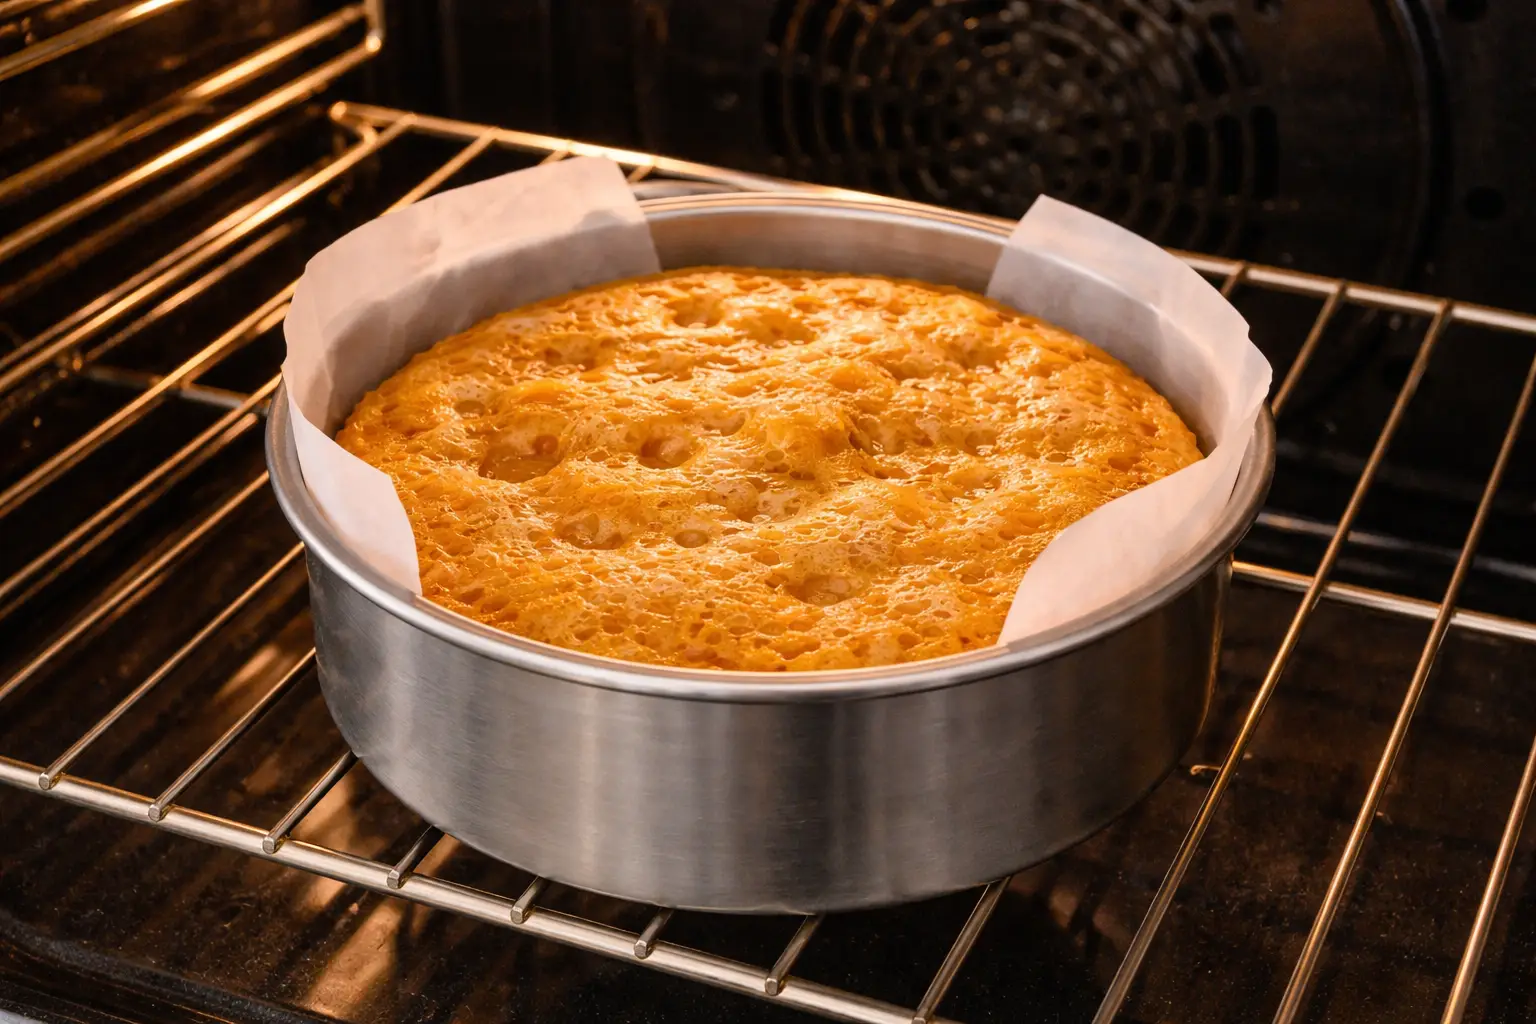
Place the pan in a preheated 375°F (190°C) oven immediately. Then, bake for 15-20 minutes until the surface appears golden and set.
Avoid opening the oven door during baking, as temperature fluctuations can cause the structure to collapse. Instead, use the oven light to monitor progress.
The finished Honeycomb Cake should spring back lightly when touched and have a beautiful golden color throughout.
Cooling and Serving
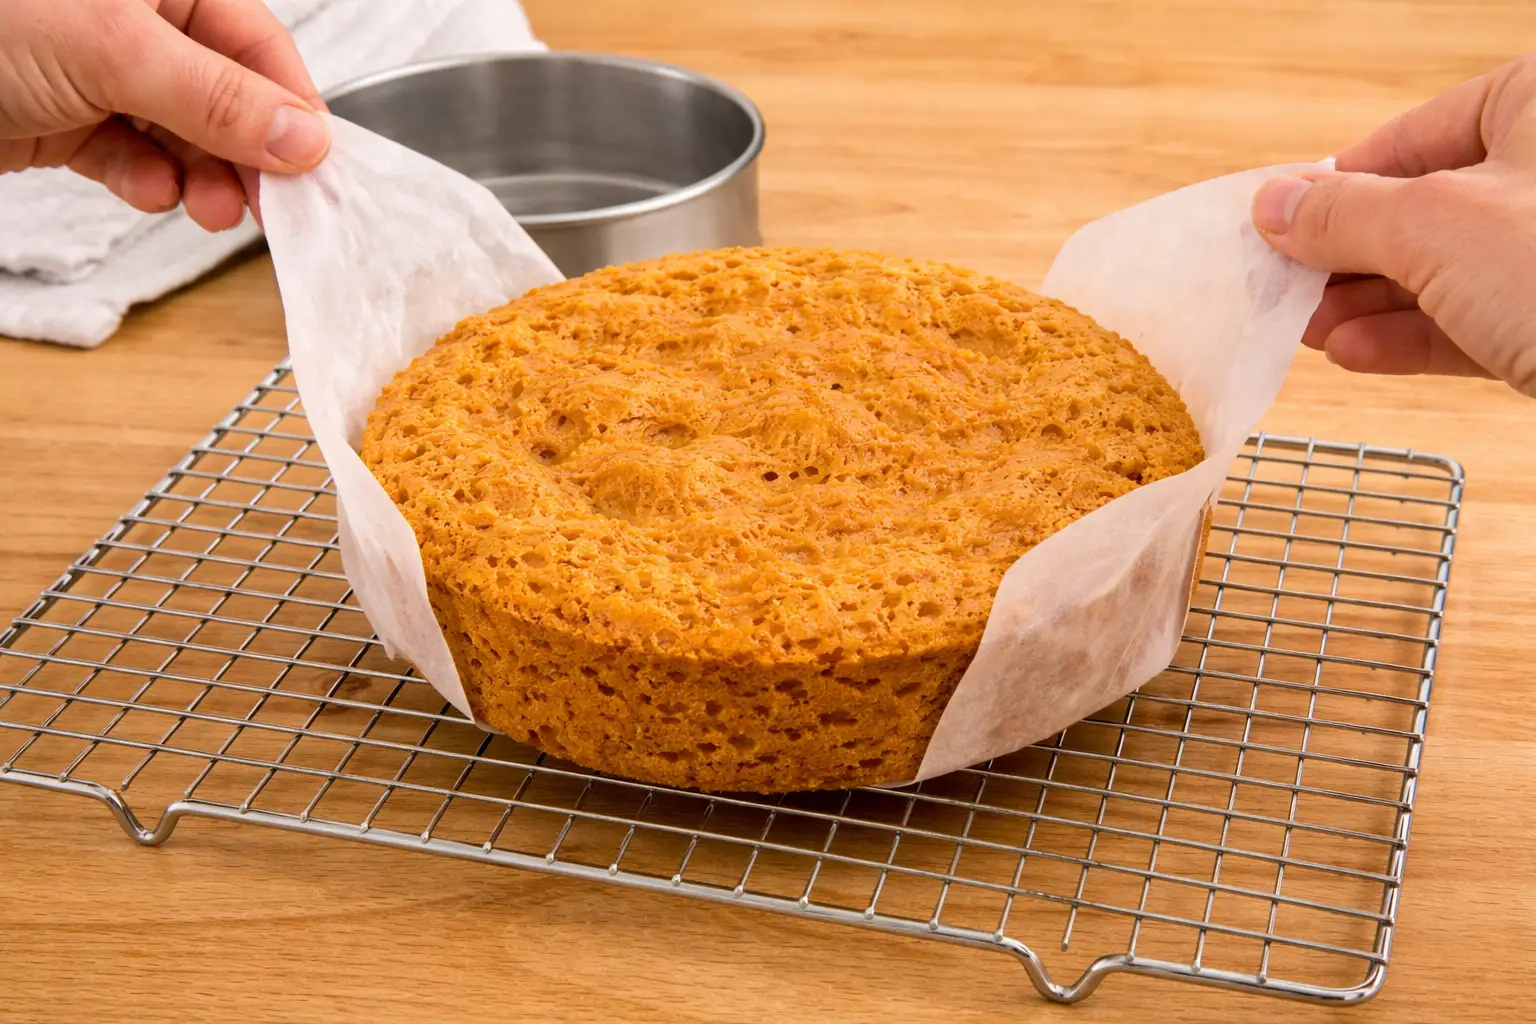
Remove the cake from the oven and let it cool in the pan for 10 minutes. Then, carefully transfer it to a wire rack using the parchment paper.
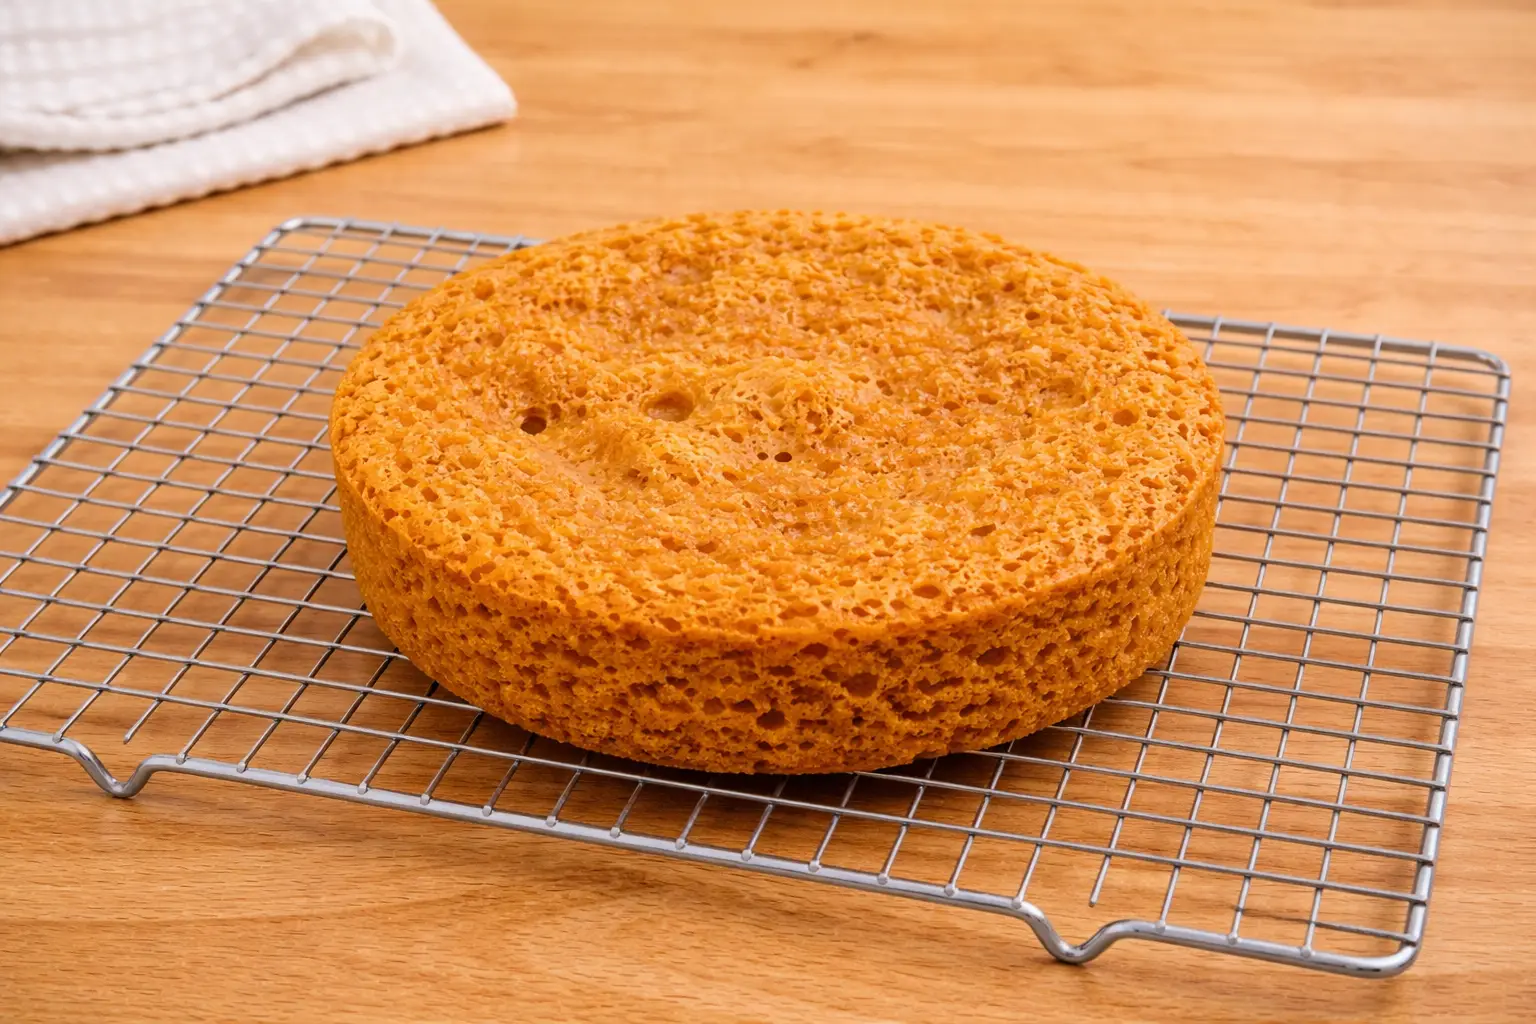
Allow the cake to cool completely before slicing, as the structure continues setting during this time. Furthermore, cooling prevents the delicate honeycomb texture from compressing.
Once cooled, slice with a sharp knife and admire the beautiful air bubble pattern inside your Honeycomb Cake.
Pro Tips for Honeycomb Cake Success
Temperature Accuracy: Use a reliable candy thermometer for precise temperature readings. Otherwise, the chemical reaction won’t occur properly, affecting your cake’s texture.
Fresh Baking Soda: Check that your baking soda remains active and fresh. Consequently, old or stale baking soda produces weak foaming and dense results.
Quick Action: Work rapidly once you add baking soda, as the foaming reaction happens fast. Therefore, have everything ready before reaching the critical temperature.
Heavy-Bottomed Pan: Use quality cookware that distributes heat evenly. Additionally, thin pans can create hot spots that burn the sugar.
Creative Honeycomb Cake Variations
Once you master basic Honeycomb Cake, experiment with these exciting variations:
Chocolate Honeycomb:
- Add 2 tablespoons cocoa powder to the sugar mixture
- Drizzle with melted chocolate after cooling
- Garnish with chocolate shavings
Citrus Version:
- Replace vanilla with lemon or orange extract
- Add zest from one citrus fruit
- Serve with citrus whipped cream
Spiced Honeycomb:
- Include ½ teaspoon cinnamon
- Add pinch of cardamom and ginger
- Perfect for autumn celebrations
Nutty Variation:
- Fold in chopped toasted almonds or hazelnuts
- Add almond extract for enhanced flavor
- Top with praline pieces
If you enjoy experimenting with flavors, you’ll love these easy mini quiches with endless variations — perfect for both sweet and savory creativity.
Serving Suggestions for Honeycomb Cake
Transform your Honeycomb Cake into an elegant dessert experience:
Classic Presentation:
- Dust with powdered sugar
- Serve with vanilla ice cream
- Garnish with fresh mint
Gourmet Style:
- Layer with mascarpone cream
- Add seasonal fruit compote
- Drizzle with artisanal honey
Casual Serving:
- Cut into squares for easy sharing
- Provide various dipping sauces
- Perfect for afternoon tea
Holiday Special:
- Shape into festive forms
- Use colored sugars for decoration
- Create themed presentations
Pair your slice with a refreshing drink like this creamy matcha smoothie recipe for a balanced, lightly sweet combination.
Storage and Make-Ahead Options
Although Honeycomb Cake tastes best fresh, you can store it properly:
Short-Term Storage:
- Cover tightly with plastic wrap
- Store at room temperature
- Consume within 2-3 days
Longer Storage:
- Wrap individual pieces separately
- Freeze for up to one month
- Thaw at room temperature before serving
However, avoid refrigerating Honeycomb Cake as moisture can make the texture soggy and compromise the delicate honeycomb structure.
Furthermore, the cake actually improves slightly after resting overnight, as flavors meld and the texture stabilizes.
Troubleshooting Common Honeycomb Cake Issues
Dense, Heavy Texture: This usually indicates insufficient temperature or inactive baking soda. Next time, verify your thermometer accuracy and baking soda freshness.
Burnt Flavor: The sugar mixture cooked too long or at excessive temperature. Additionally, using a heavy-bottomed pan prevents hot spots that cause burning.
Collapsed Structure: Opening the oven door too early or temperature fluctuations cause this problem. Moreover, ensure your oven maintains consistent heat throughout baking.
Uneven Honeycomb: Inadequate mixing after adding baking soda creates irregular bubble distribution. Therefore, whisk vigorously but briefly for uniform results.
The Cultural Background of Honeycomb Cake
Honeycomb Cake gained international popularity through Korean cuisine, where similar techniques create various confections. Moreover, the concept of aerating sugar with alkaline ingredients appears in many cultures worldwide.
Traditional British honeycomb candy uses identical principles, while Italian torrone incorporates similar textures. Furthermore, each culture adds unique flavors and presentation styles to this basic technique.
Social media significantly boosted Honeycomb Cake’s popularity, with its photogenic appearance making it perfect for sharing online. Consequently, home bakers worldwide now create their own versions of this stunning dessert.
Health Considerations and Modifications
While Honeycomb Cake remains a special-occasion treat, you can make some modifications:
Reduced Sugar Version:
- Substitute part of the sugar with sugar alternatives
- Results may vary in texture and color
- Adjust liquid ratios accordingly
Gluten-Free Naturally:
- This recipe contains no wheat flour
- Perfect for gluten-sensitive individuals
- Maintains authentic texture and flavor
Portion Control:
- Cut into smaller pieces for moderation
- Rich flavor satisfies with smaller servings
- Perfect for sharing among groups
Equipment Essentials for Honeycomb Cake
Having the right tools ensures Honeycomb Cake success:
Must-Have Items:
- Candy thermometer for accurate temperature
- Heavy-bottomed saucepan for even heating
- Wire whisk for rapid mixing
- Parchment paper for easy removal
Helpful Additions:
- Stand mixer for variations requiring whipping
- Offset spatula for smooth finishing
- Digital scale for precise measurements
- Multiple cake pans for larger batches
Creating Sweet Memories with Honeycomb Cake
Making Honeycomb Cake at home connects you to the joy of scientific cooking while creating something absolutely delicious. Moreover, the dramatic transformation from simple ingredients to spectacular dessert never fails to amaze both bakers and guests.
This recipe proves that impressive desserts don’t always require complex techniques or expensive ingredients. Instead, understanding basic principles and following precise steps creates restaurant-quality results in your own kitchen.
Whether you’re celebrating special occasions or simply wanting to try something new, Honeycomb Cake delivers both visual impact and incredible flavor. Furthermore, the process of making it becomes an entertaining kitchen adventure that’s almost as rewarding as eating the final result.
And if you’re craving something savory after dessert, try this perfect nachos with simple ingredients — a quick and satisfying snack for any time of day.
So why not surprise your family and friends with this amazing Honeycomb Cake? After all, life’s sweetest moments deserve equally spectacular desserts, and this golden, airy creation certainly fits that description perfectly!
How to Make Perfect Honeycomb Cake at Home
Description
Light, airy honeycomb cake with a crisp texture and caramel flavor. Follow this easy cooking method for a perfectly sweet, golden dessert every time.
Ingredients
Main Components


Optional Additions
For Serving
Instructions
Prepare Your Workspace
-
Set Up Equipment
Gather all your ingredients and equipment before starting.
Line an 8-inch round cake pan with parchment paper, making sure it extends slightly up the sides.
Place your candy thermometer nearby and measure the baking soda into a small bowl.
 Once cooking begins, timing is critical—having everything ready ensures a smooth process.
Create the Sugar Syrup
-
Combine and Heat
In a heavy-bottomed saucepan, combine:
Granulated sugar
Honey
Water
Stir gently just to combine, then stop stirring.
Place the pan over medium-high heat and attach the candy thermometer.
-
Cook to Temperature
Allow the mixture to cook undisturbed until it reaches 300°F (150°C), about 8–10 minutes.
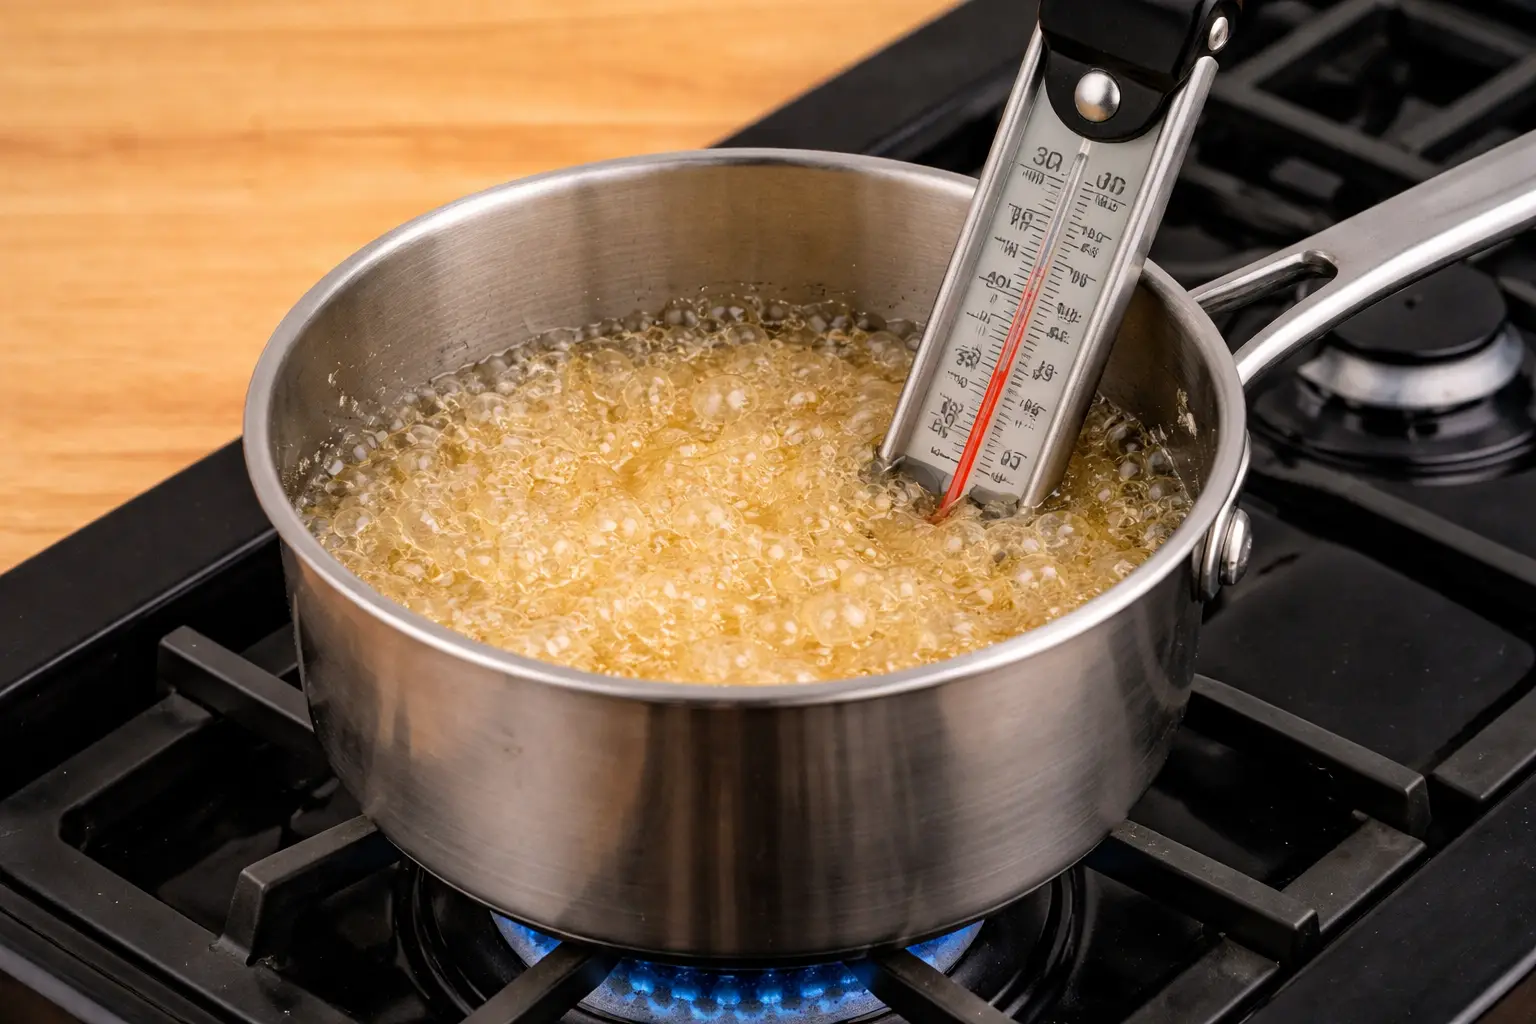 The syrup will change from clear to a deep golden amber, which indicates it’s ready.
Add Baking Soda (The Magic Step)
-
Remove and Flavor
Once the syrup reaches temperature, remove it from heat immediately.
Add:
-
Vanilla extract
-
A pinch of salt
Swirl the pan gently to combine.
-
-
Create the Honeycomb Texture
Add the baking soda all at once and whisk vigorously for 5–10 seconds.
The mixture will foam rapidly and expand.
 Immediately pour the foamy mixture into the prepared pan.
Bake the Honeycomb Cake
-
Bake Until Set
Place the pan into a preheated 375°F (190°C) oven right away.
Bake for 15–20 minutes until the surface is golden and set.
 Avoid opening the oven door, as temperature changes can cause the cake to collapse.
Cool and Set
-
Let It Rest
Remove the cake from the oven and let it cool in the pan for 10 minutes.
Then transfer it to a wire rack using the parchment paper.
-
Cool Completely
Allow the cake to cool completely before slicing.
 Cooling helps the honeycomb structure firm up, preventing it from collapsing.
Slice and Serve
-
Finish and Enjoy
Once cooled, slice the cake with a sharp knife to reveal the airy honeycomb texture inside.
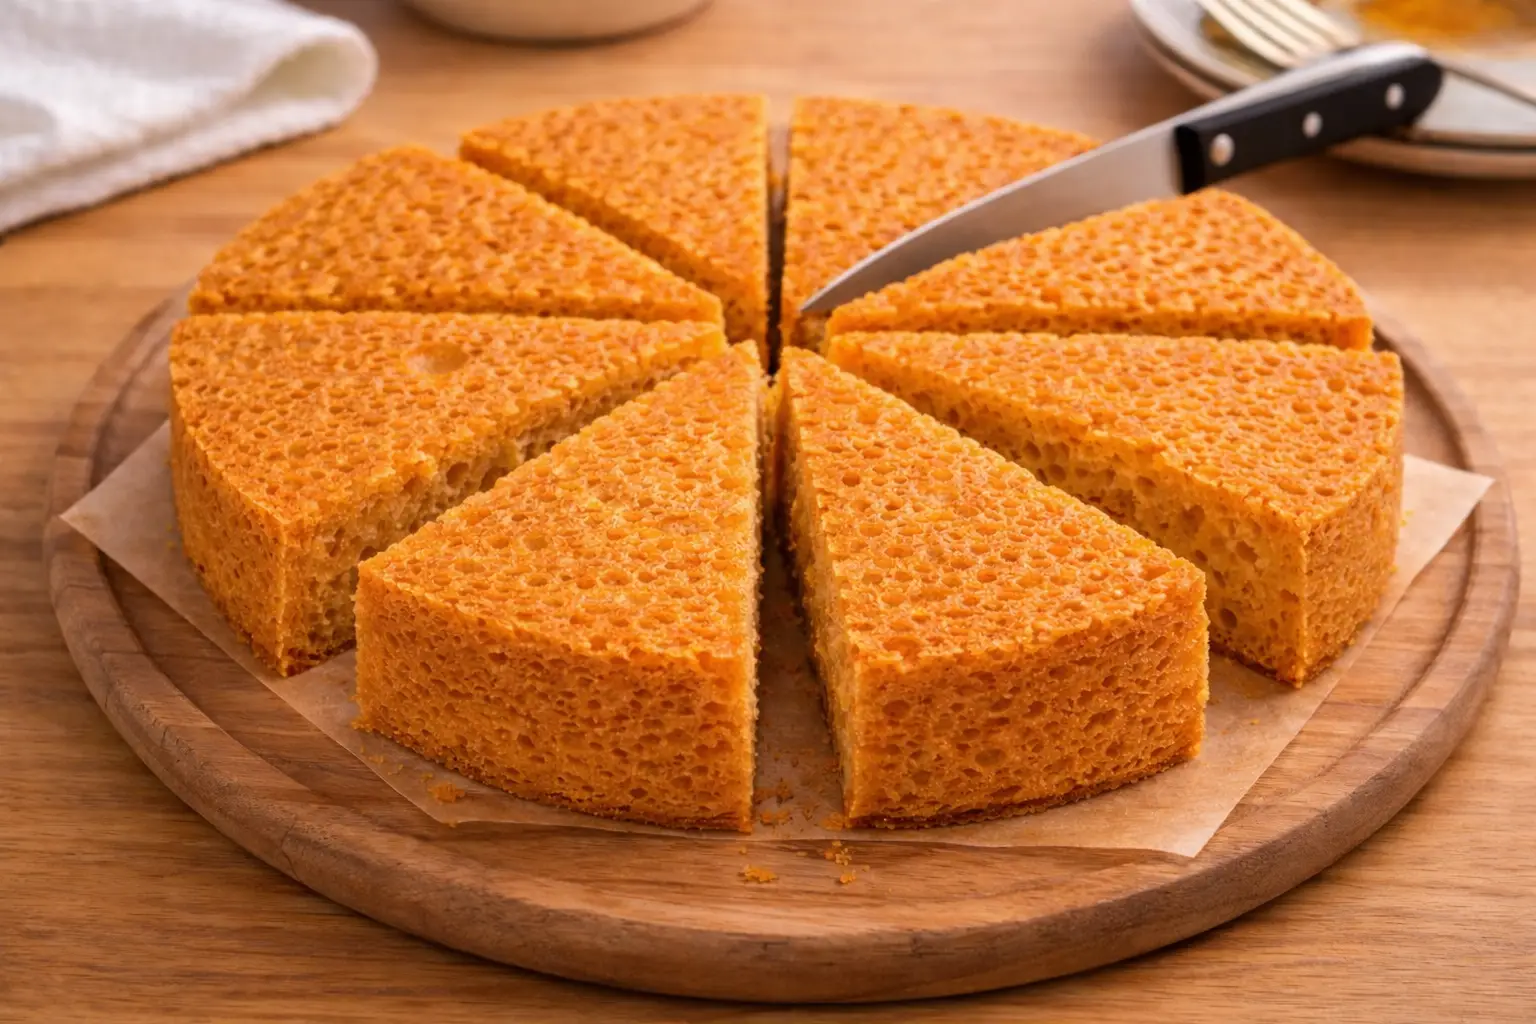 Serve as is, or pair with whipped cream, berries, chocolate sauce, or caramel drizzle for an extra indulgent treat.
Nutrition Facts
Servings 8
- Amount Per Serving
- Calories 180kcal
- % Daily Value *
- Total Fat 3g5%
- Saturated Fat 1.8g9%
- Cholesterol 5mg2%
- Total Carbohydrate 1.8g1%
- Dietary Fiber 0.3g2%
- Sugars 34g
- Protein 0.8g2%
- Vitamin A 90 IU
- Calcium 35 mg
- Iron 0.6 mg
* Percent Daily Values are based on a 2,000 calorie diet. Your daily value may be higher or lower depending on your calorie needs.